Horsepal® Sensor
Battery (CR2477)
Keyring
Key Ring Bag
Horsepal® Pin
Horsepal® Lanyard
Horsepal® Card – Instructions 1 Horsepal® Adhesive Pocket

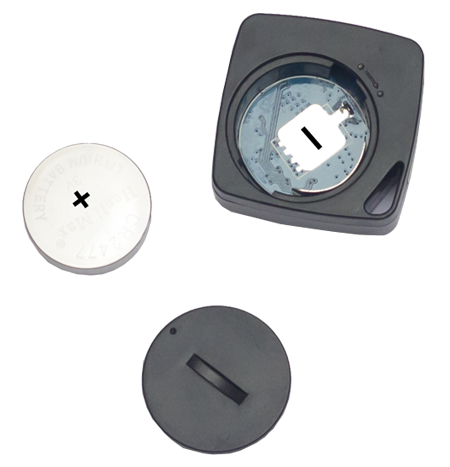
• The battery has two sides. One side is ‘plus’ and the other side is ‘minus’. The plus side is marked on the battery with a “+” sign. The minus side is the bumpy textured side.
• When you are inserting the battery, the minus side should face the bottom of sensor and the plus side should face you (bumpy side down, writing facing you).
• After you insert the battery, close the lid with a coin or keyring. Your sensor should be automatically turned on.
• If your phone can’t see the sensor when using the application, you can hold the power button for 10 seconds to turn off the device with a pen until you see a red light. After that, hold the power button for 4 seconds to turn the device on until you see a green light.
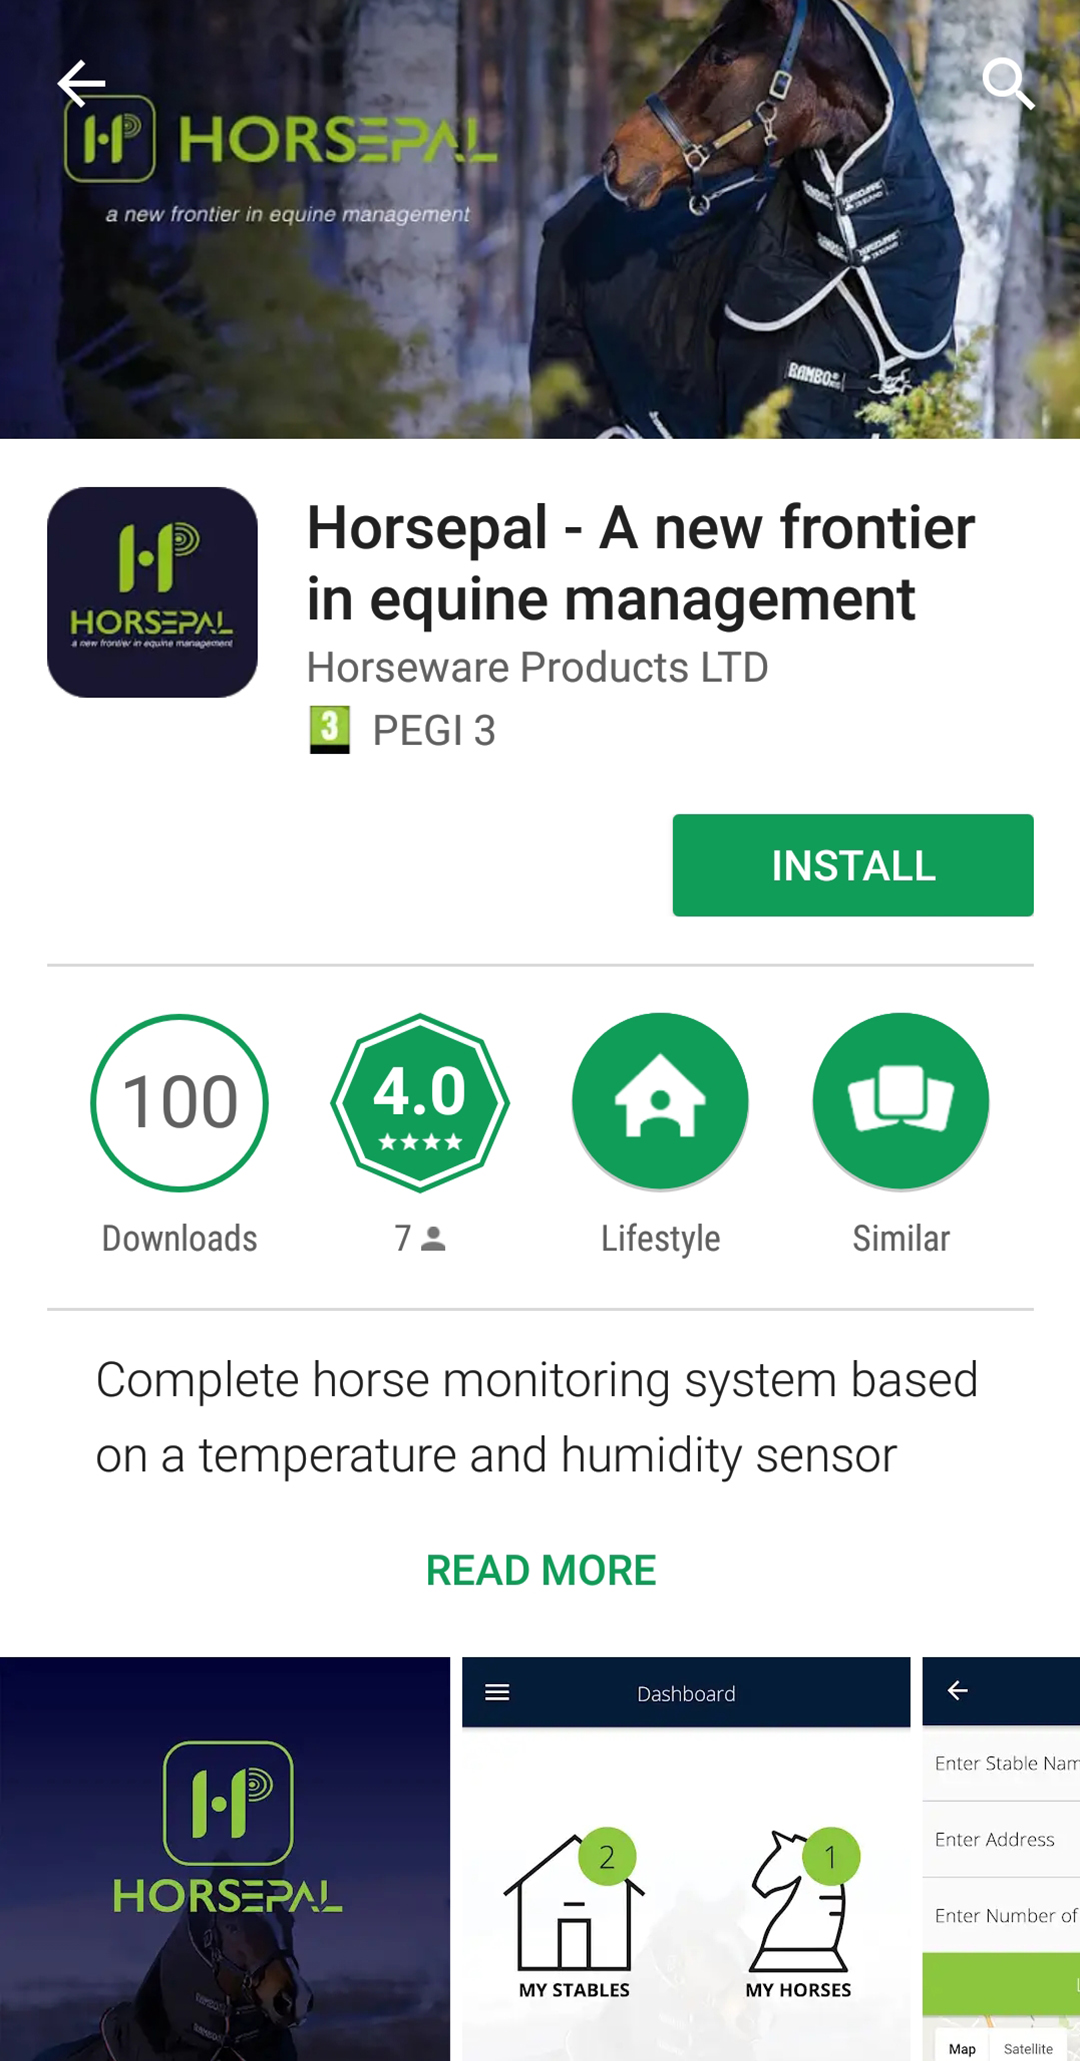
1. Download the Horsepal® App to your smart phone/tablet
• Google Play Store
- https://play.google.com/store/apps/details?id=com.horseware.horsepal1&hl=en&gl=US
• Apple App Store
- https://itunes.apple.com/us/app/Horsepal/id1292263411?mt=8
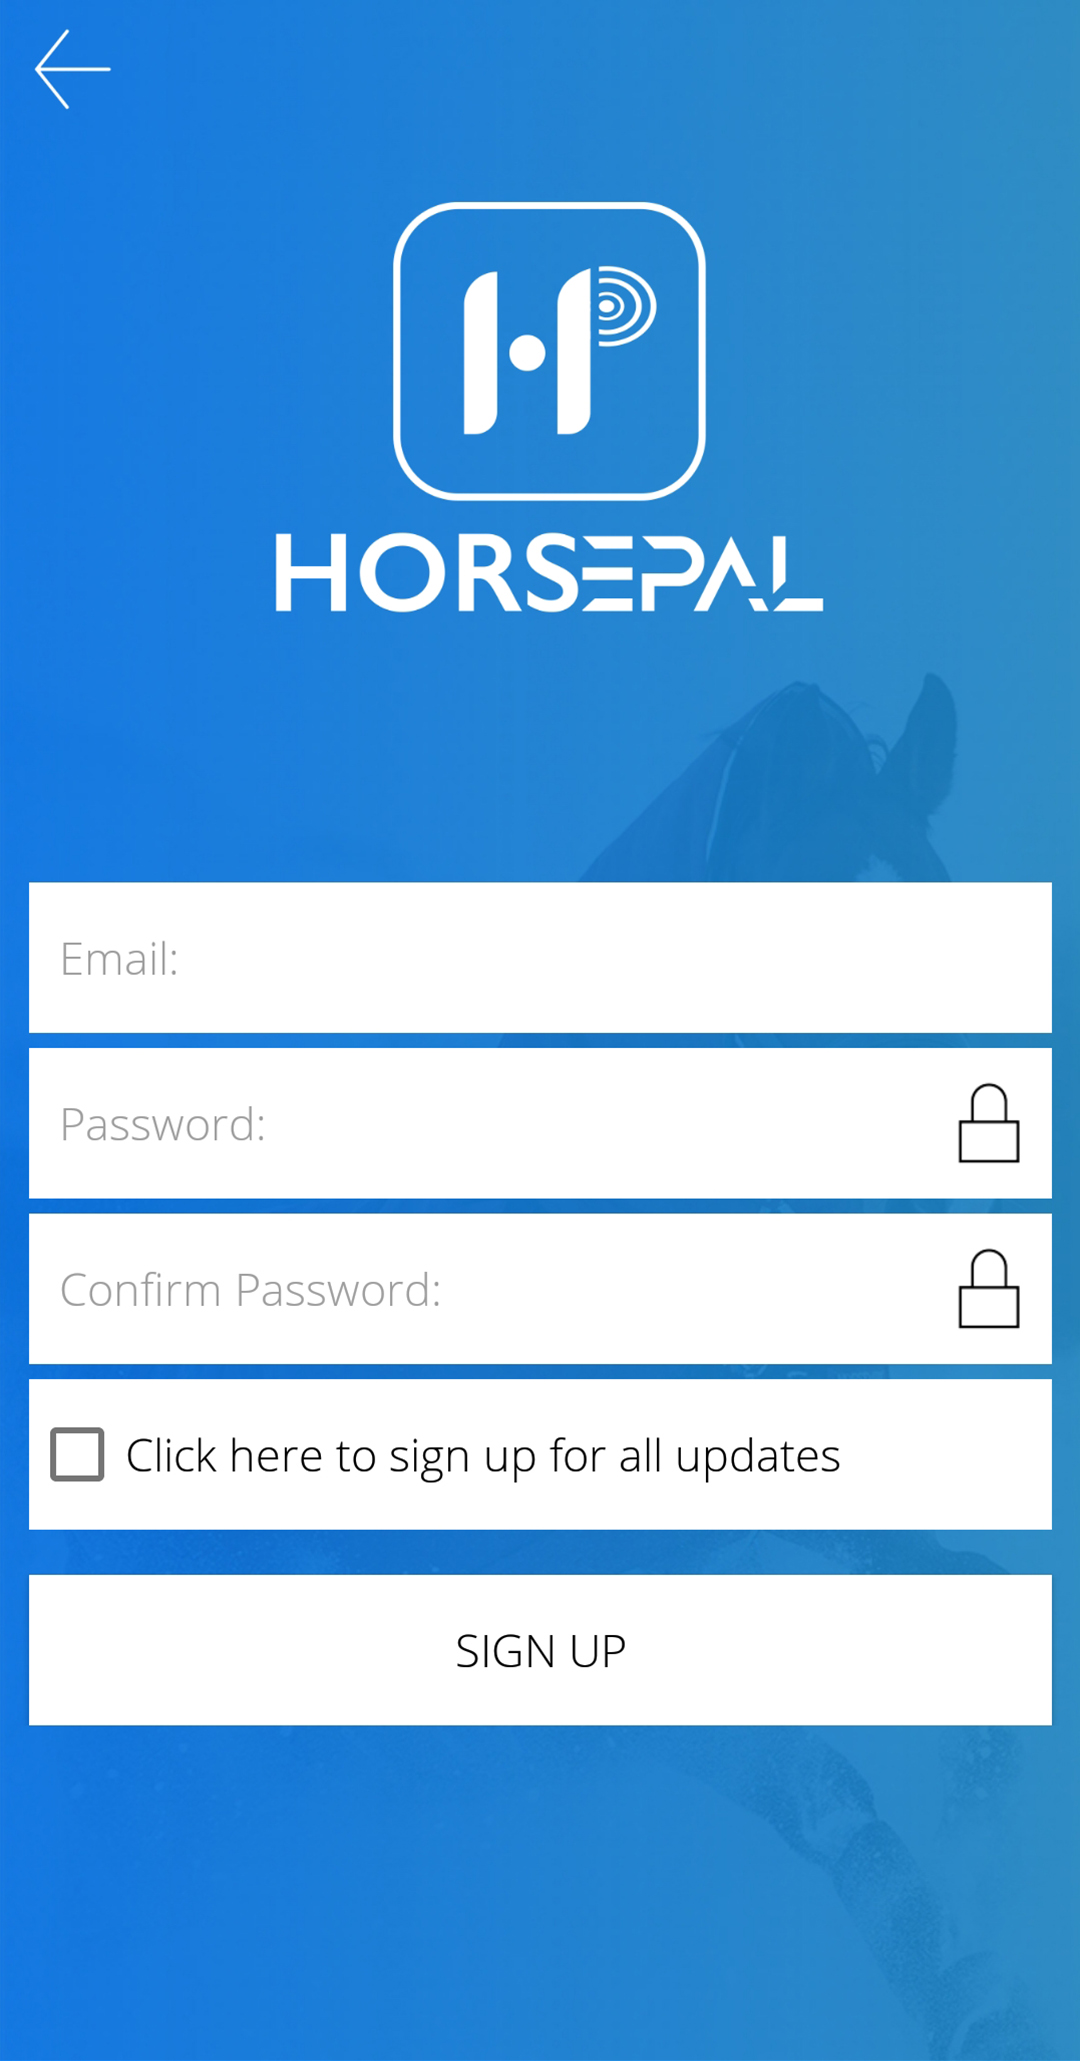
2. Open the application on your device
Set up account by following the on-screen instructions.
• Enter your email and password.
• Confirm password and press ‘Sign Up’.
• After that you will be sent a confirmation email with the link to confirm your account – please click this link. Your information will be saved securely.
• Please allow for up to 15 mins to receive the email. Please check your junk or spam folder if you have not received it after this time.
3. Login
• Enter your email and password and press ‘Log in’. • Follow the directions on the screen.
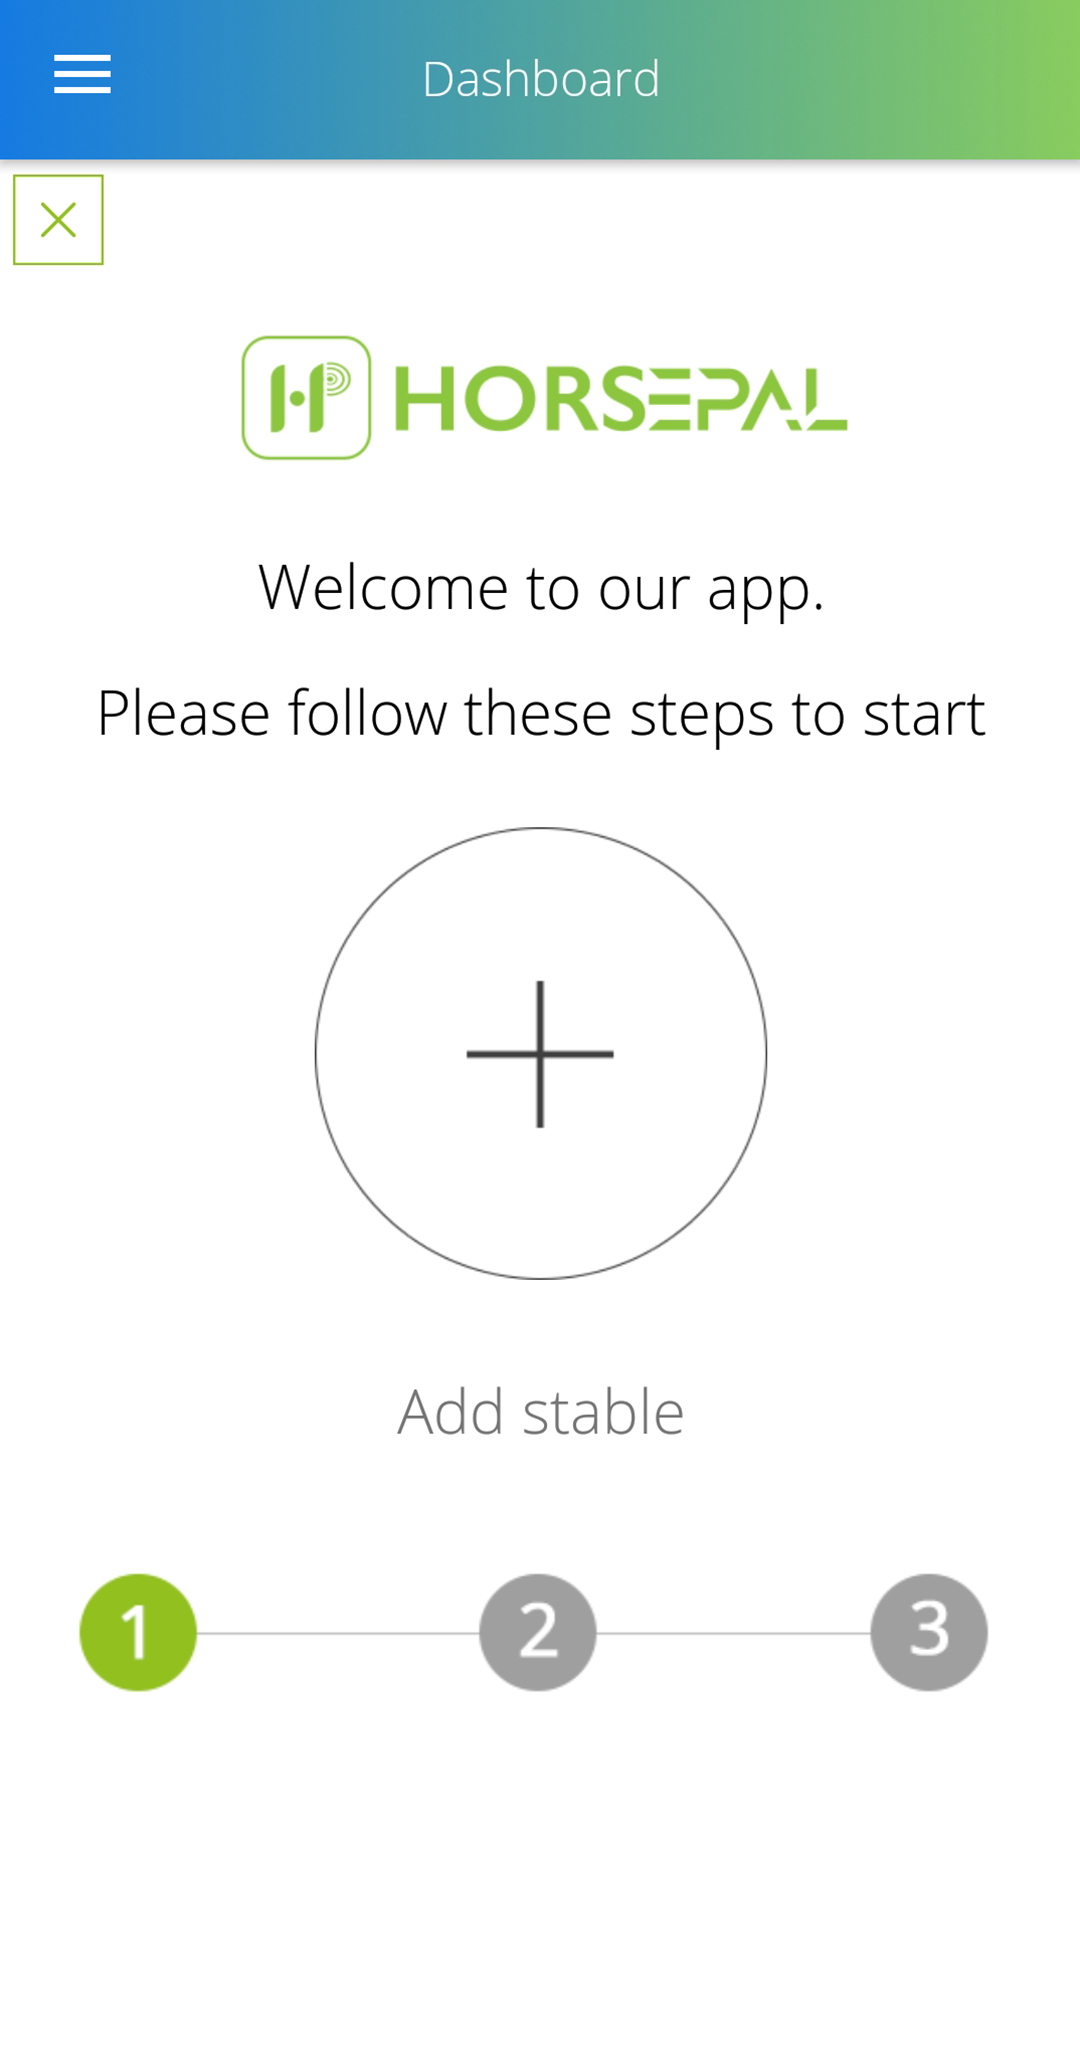
• Click on the button ‘Add Stable’.
• Enter your stable name, address, phone number and number of stalls. *Address - you can find your stables on the map or you can enter the address manually and click on ‘Locate on Map’.
• Click ‘Save’.

Ensure that your phones Bluetooth is turned on.
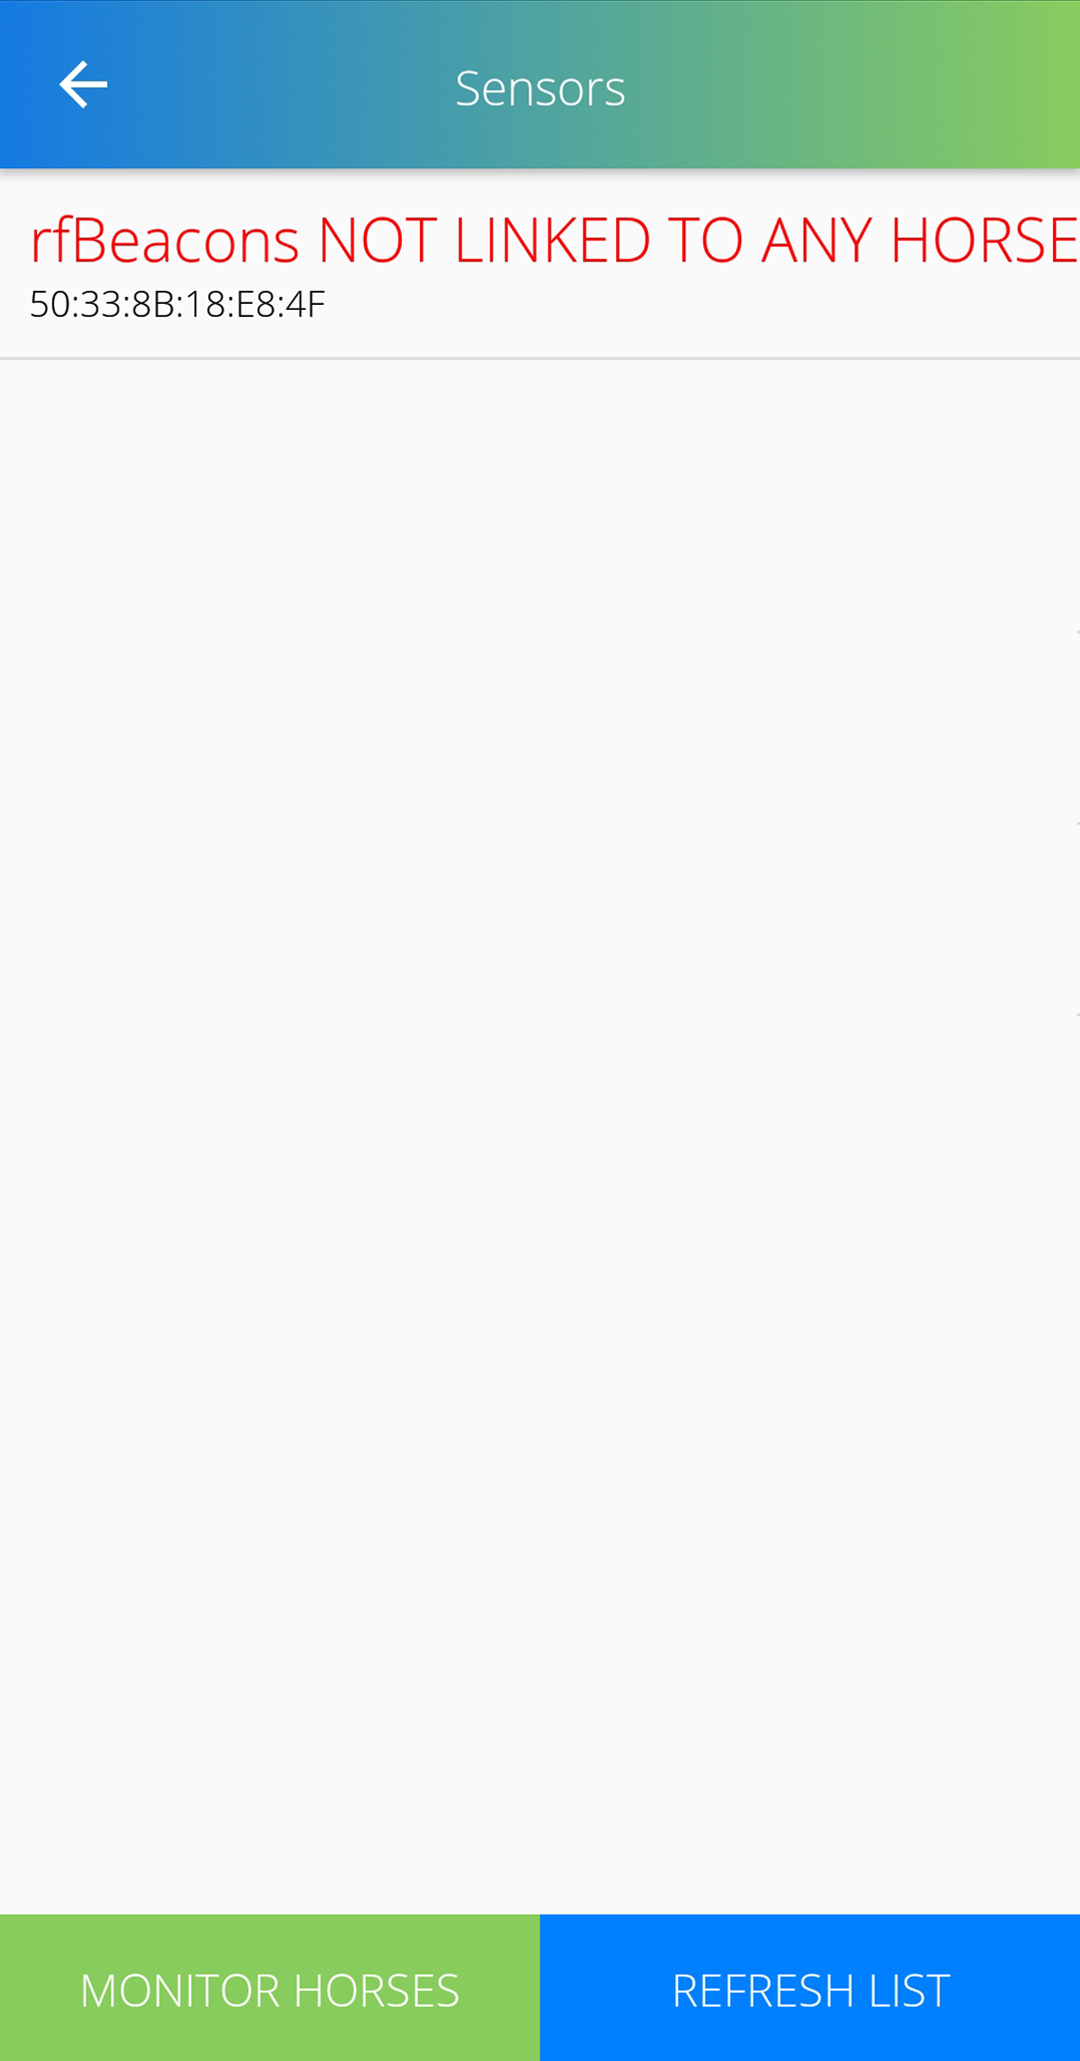
• Your sensor should appear the sensor list.
• Click on sensor ‘rfBeacon’ – it should be in red.
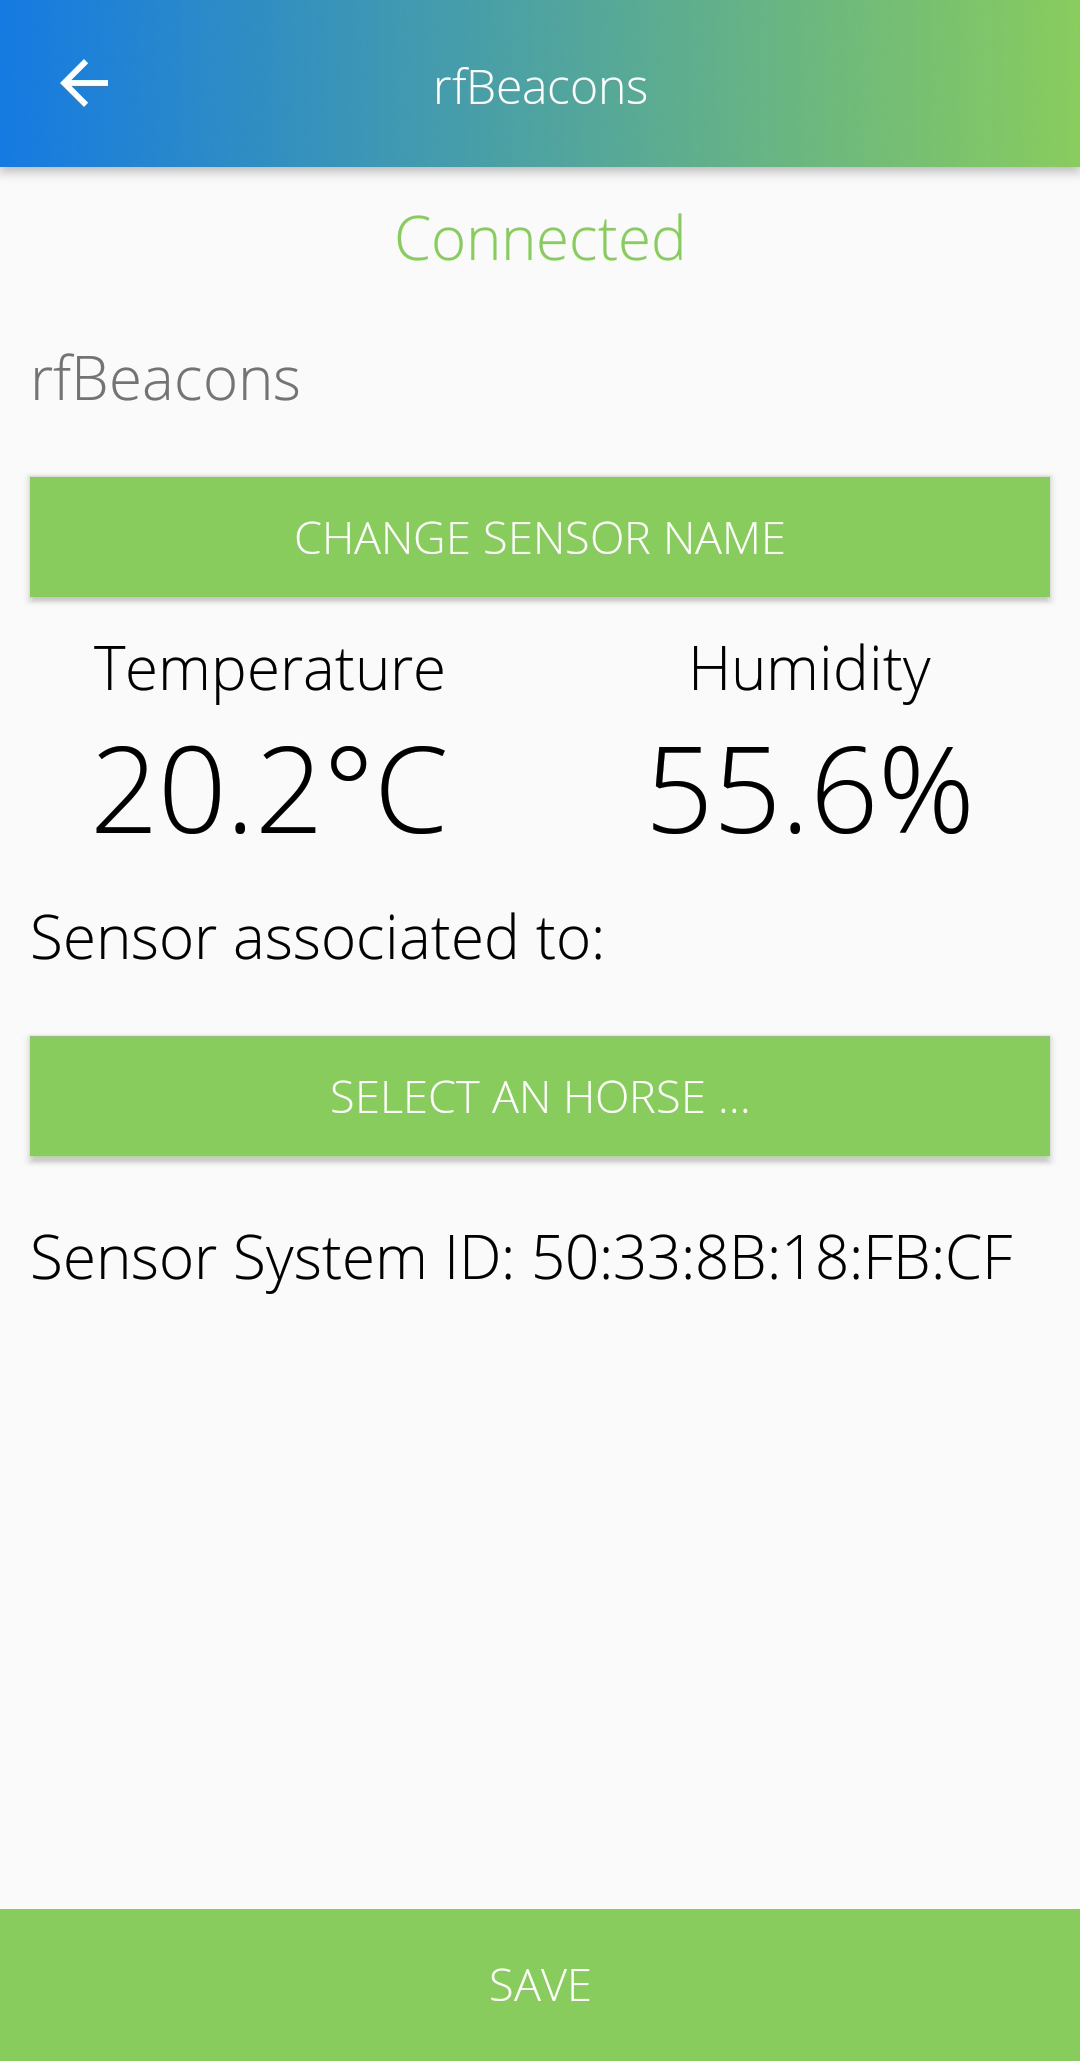
•Rename your sensor by clicking ‘Change Sensor Name’
We suggest renaming the sensor to your horse’s name.
• Link to Horse by clicking ‘Select a Horse’
You can choose a horse from a list to link the sensor to.
• Click ‘Save’.
• Once you have linked the sensor to a horse, you may need to restart your sensor (do this by removing the battery and putting it back in again).
• When you have done this, the sensor should appear in the sensor list in green with your horse’s name beside it.
• Click ‘Monitor Horse’ – you will see your phone reading the sensor.
• The first reading will be 0oC and 0% humidity as the device has never been turned on. Once the sensor has been left on for a few hours, you can take another reading and you will start to see the temperature and humidity readings.
• The temperature and humidity should be read between the rug and horse’s skin. • These ranges depend on where you are located.
• We suggest a comfort range of 28-32oC (82-90oF) for temperature and 20-60% of humidity.
• The ranges can be set from Dashboard > ‘Menu’ > ‘Settings’.
• You can change the unit of measure and comfort zone ranges here.
